Provision Users
Overview
In Staqr, there are Sellers and Users. Each seller is provisioned with their corresponding workspace, project, or team in your SaaS. The users are then mapped to the respective users in Staqr.
To achieve this, the backend will generate a signed token that contains all the necessary information to automatically create a user and project. If the user or project already exists, it will skip the creation and log in the user directly.
Step 1: Step 1: Obtain Signing Key
You can generate a signing key by going to Platform Settings -> Signing Keys -> Generate Signing Key.
This will generate a public and private key pair. The public key will be used by Staqr to verify the signature of the JWT tokens you send. The private key will be used by you to sign the JWT tokens.
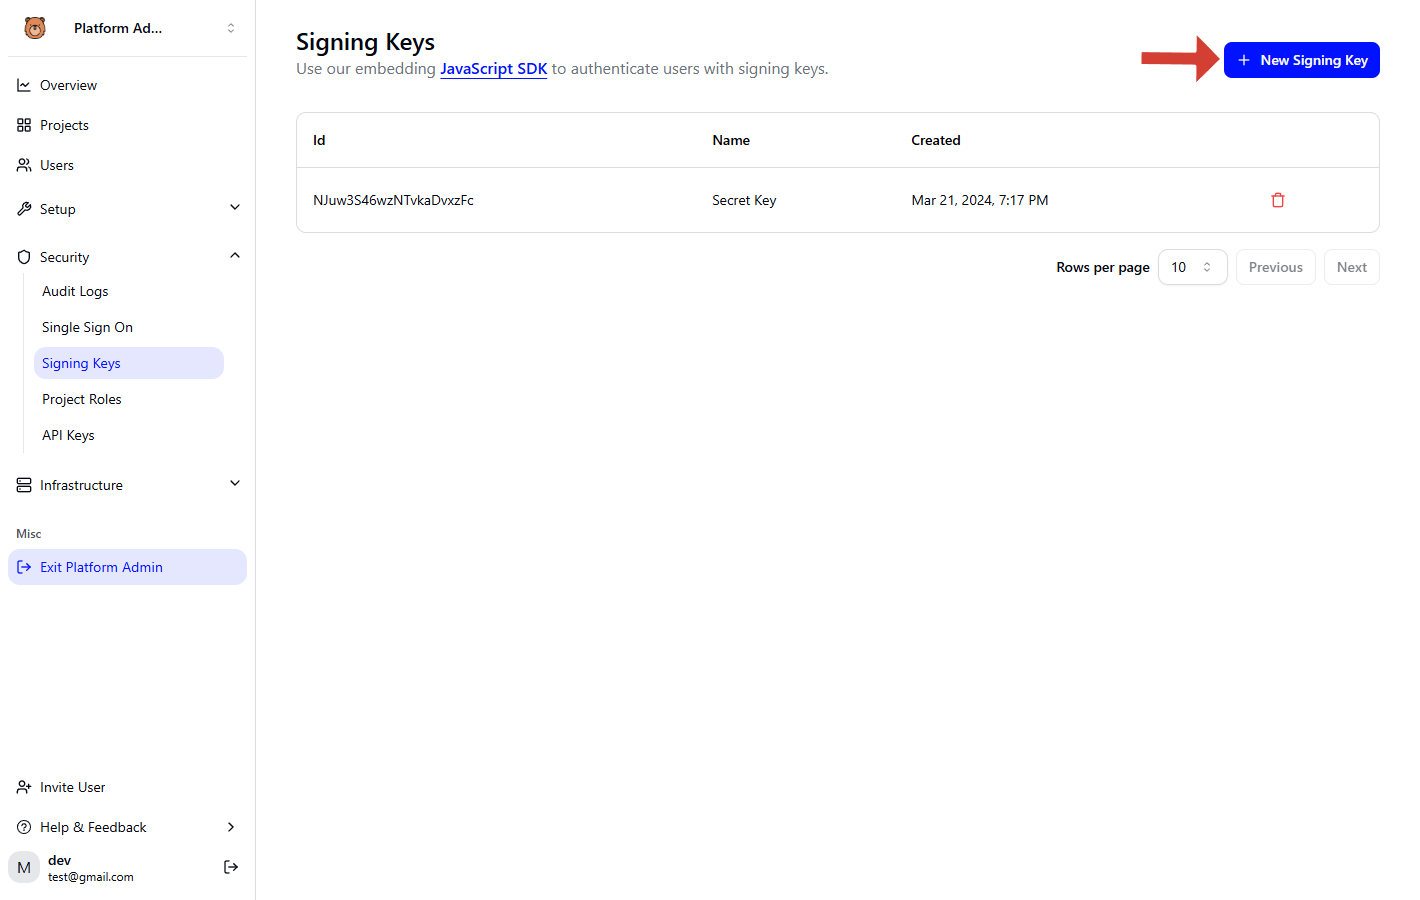
Please store your private key in a safe place, as it will not be stored in Staqr.
Step 2: Step 2: Generate a JWT
The signing key will be used to generate JWT tokens for the currently logged-in user on your website, which will then be sent to the Staqr Iframe as a query parameter to authenticate the user and exchange the token for a longer lived token.
To generate these tokens, you will need to add code in your backend to generate the token using the RS256 algorithm, so the JWT header would look like this:
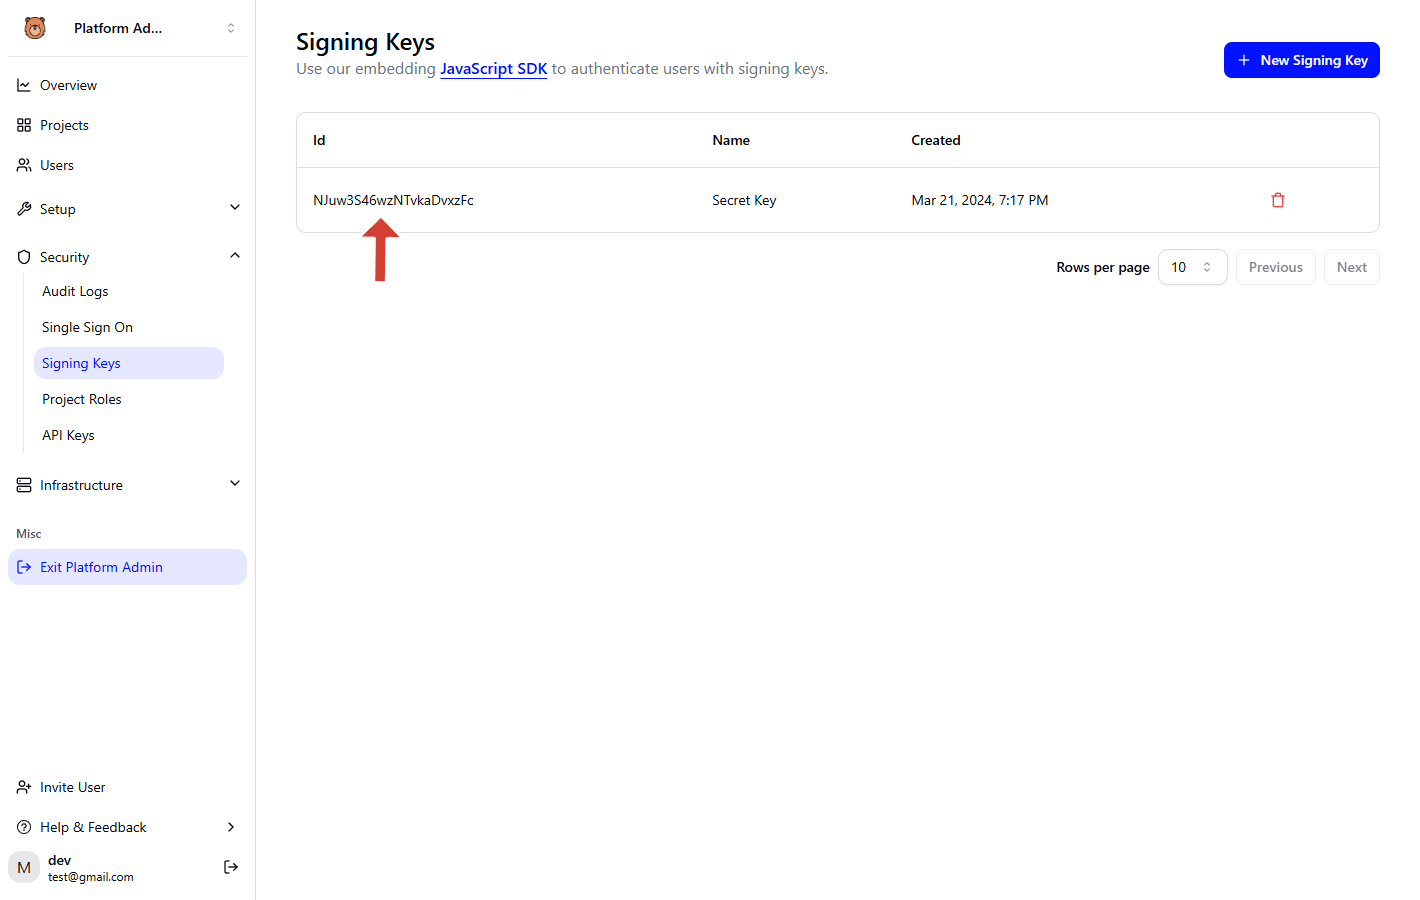
To obtain the SIGNING_KEY_ID, refer to the signing key table and locate the value in the first column.
{
  "alg": "RS256",
  "typ": "JWT",
  "kid": "SIGNING_KEY_ID"
}
The signed tokens must include these claims in the payload:
{
  "version": "v3",
  "externalUserId": "user_id",
  "externalSellerId": "user_project_id",
  "firstName": "John",
  "lastName": "Doe",
  "role": "EDITOR",
  "integrationsFilterType": "NONE",
  "exp": 1856563200,
  "tasks": 50000,
  "aiCredits": 250
}
| Claim | Description |
|---|---|
| externalUserId | Unique identification of the user in your software |
| externalSellerId | Unique identification of the user's seller in your software |
| projectDisplayName | Display name of the user's project |
| firstName | First name of the user |
| lastName | Last name of the user |
| role | Role of the user in the Staqr project (e.g., EDITOR, VIEWER, ADMIN) |
| exp | Expiry timestamp for the token (Unix timestamp) |
| integrationsFilterType | Customize the seller integrations, check customize integrations |
| integrationsTags | Customize the seller integrations, check customize integrations |
| tasks | Customize the tasks limit for your user's project |
| aiCredits | Customize the ai credits limit for your user's project |
You can use any JWT library to generate the token. Here is an example using the jsonwebtoken library in Node.js:
Friendly Tip #1: You can also use this tool to generate a quick example.
Friendly Tip #2: Make sure the expiry time is very short, as it's a temporary token and will be exchanged for a longer-lived token.
const jwt = require('jsonwebtoken');

// JWT NumericDates specified in seconds:
const currentTime = Math.floor(Date.now() / 1000);
let token = jwt.sign(
  {
    version: "v3",
    externalUserId: "user_id",
    externalSellerId: "user_project_id",
    firstName: "John",
    lastName: "Doe",
    role: "EDITOR",
    integrationsFilterType: "NONE",
    exp: currentTime + (60 * 60), // 1 hour from now
  },
  process.env.STAQR_SIGNING_KEY,
  {
    algorithm: "RS256",
    header: {
      kid: signingKeyID, // Include the "kid" in the header
    },
  }
);
Once you have generated the token, please check the embedding docs to know how to embed the token in the iframe.